
UNDERWATER FILMING
This sounds amazing, right? An underwater film shoot – WAUW!
After seeing so many great photographers and filmmakers create underwater film scènes, I thought let’s give it a try! Such great ambitions <3 And even though I knew it was going to be more difficult than planned, I tried it with an amazing team and we learned it the hard yet honest way.
Before I started filming I did my research, but I could not find enough information to get me started on planning this actual film scène. Therefore, I realized I should be making a blog about this after filming (since there aren’t any blogs yet about this yet).
So, are you ready for some helpful underwater film tips – keep on reading!
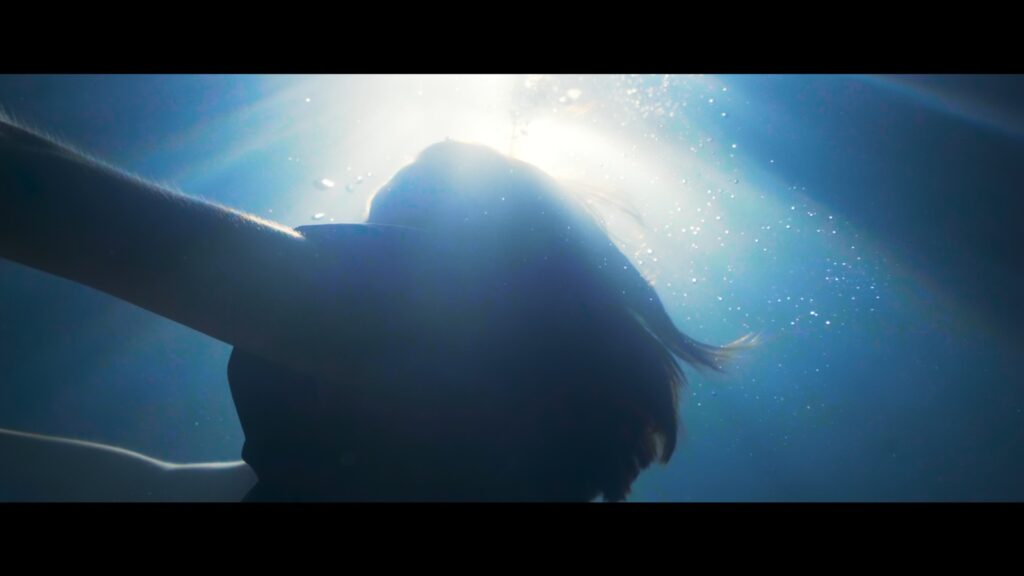
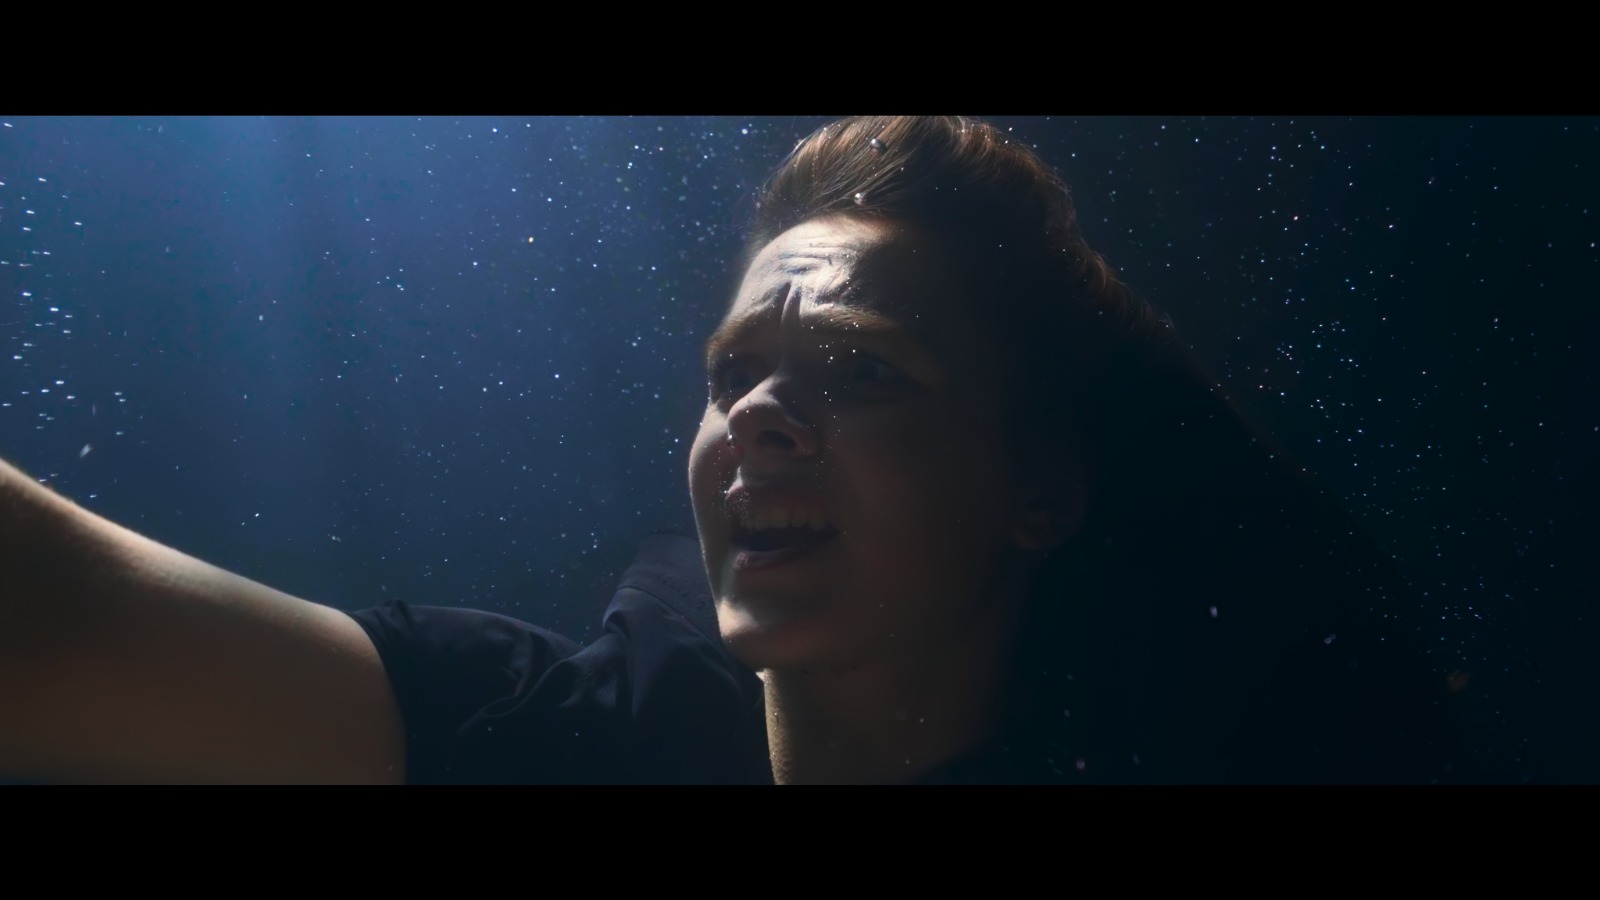
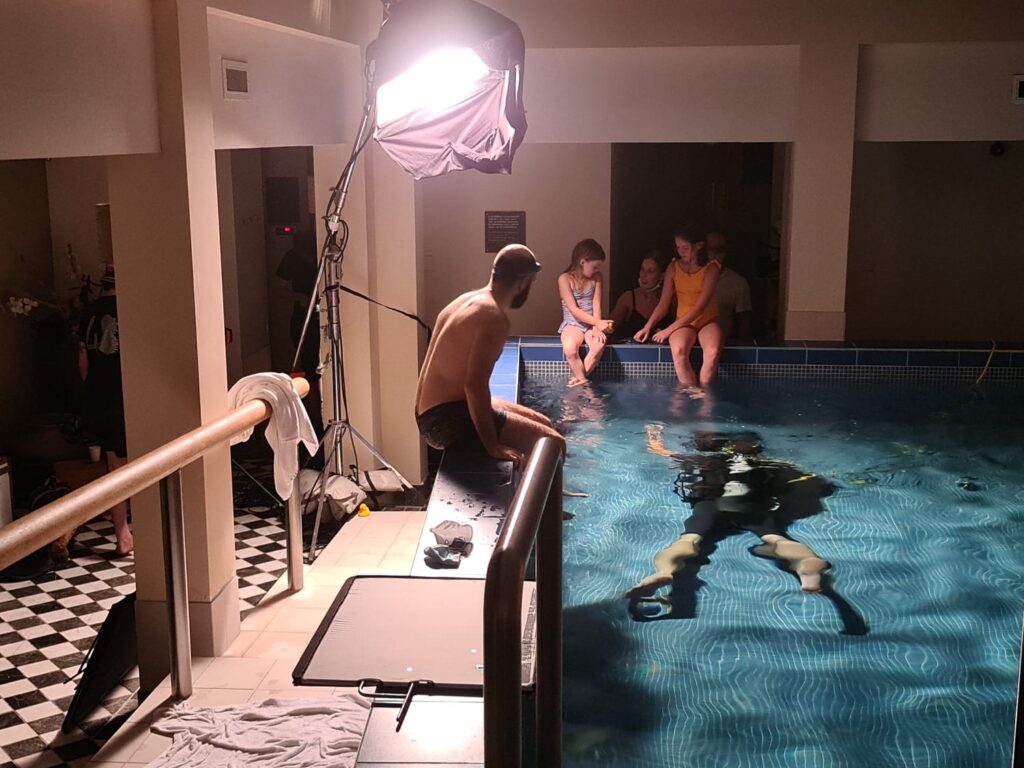
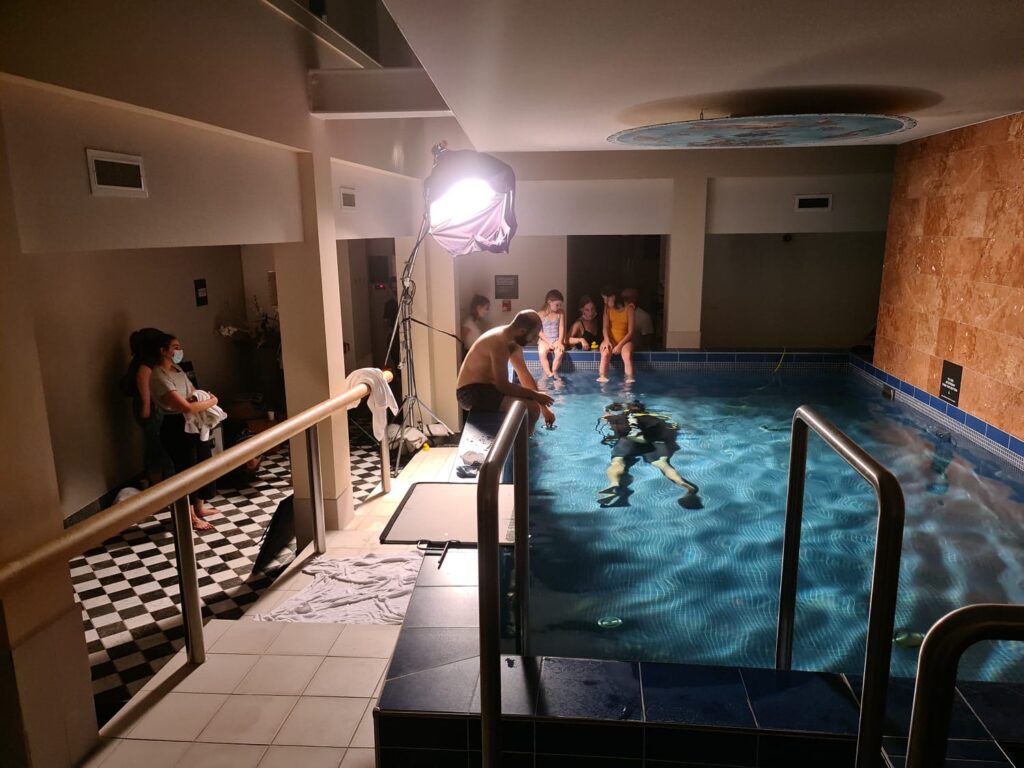
The image you can see right above this text is from my newest film ALEX. This film was the reason I wanted to do an underwater film scène. It was my first underwater shoot with only a 1.20-meter deep pool. The image looks great, but it was definitely not easy.
I asked for help from a specialist in underwater filming. He made sure that I knew what I was doing. This filmmaker also decided he wanted to help with my underwater film scène – so great! Now I am sharing our knowledge with you!
Let’s start with the pre-production
- First of all, find a pool that is quite deep: the deeper, the better.
- Make sure that you are able to cover up the pool-stripes on the floors and walls of the swimming pool. You can use any color that you want (according to the look&feel of the film). I used black wall foil – https://www.btndehaas.nl/wandfolie-50x2mtr-foliedikte-0-12mm-zwart-waterborg – that was light enough (VERY IMPORTANT!), so it would stay on the floor of the pool!
- Rent extra sandbags (around 30-40) to make sure the foil will stick to the ground and against the wall of the swimming pool. I was not able to rent black sandbags. Therefore, I put some black wall foil on the sandbags as well and it worked 😉 Extra tip: put more than one sandbag in the wall foil. This way, it ensures that the foil will stick even better to the pool floor.
- To create a dreamlike effect in the water, rent the K5600 Jokerbud 1600 Lamp: https://camunit.nl/product/k5600-jokerbug-1600/
- Lens tip: filming with anamorphic lenses will make sure that there are no extra white/black spots in your footage that might need to be removed by a VFX artist. But if you do not have the money or knowledge about these lenses, use the Sony 24-70 E mount F4. This will help you with creating so many different kinds of shots.
- Camera tip: if you are not super experienced with underwater filming/photography, you can use the Sony A7S II camera with the Nauticam Underwaterhousing system.
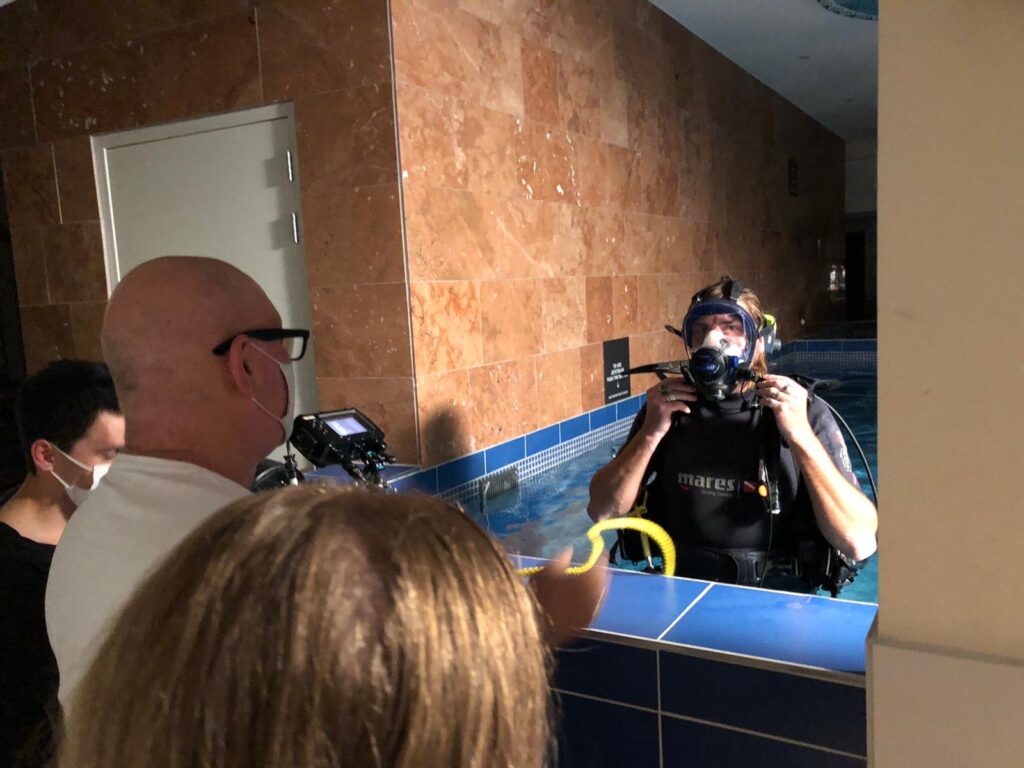
- Acting: This is really important!! Make sure that the actor(s)/actress(es) have practiced the underwater scenes before and/or are familiar with underwater shoots!! You can do this via: https://www.divection.nl
Production/Filming
- Plan 1,5 hours for preparations before you start filming.
- Depending on your filmplan/photography plan, an underwater shoot will take approximately 2-3 hours (without the preparations).
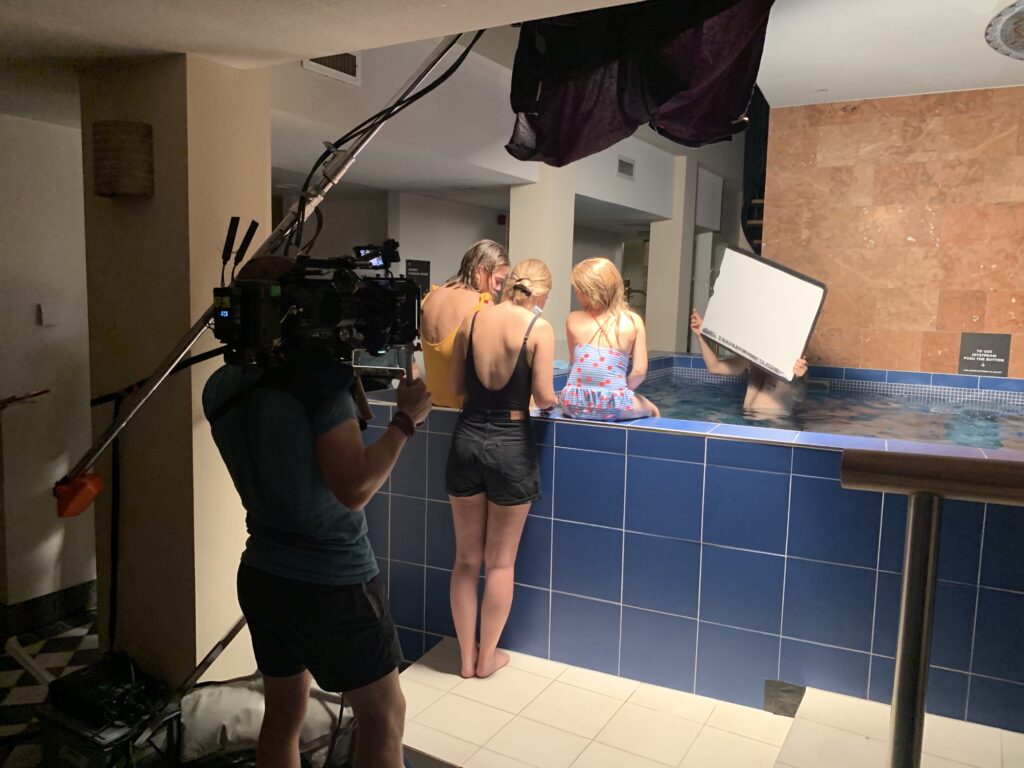
- Make sure that you have secured the lamps.
- Important: Start the camera before the actor(s)/actress(es) is/are ready and do not let them lay them on their back completely (otherwise the water will flow into their nose). Tip: Tell the actor(s)/actress(es) that the camera is already in place and on, but that he/she/they can start whenever he/she/they feel ready.
Breathing exercises for the actor(s)/actress(es):
- Take a really deep breath and breath out while counting till 8 (make sure there is no breath left at the count of 8). Repeat this a couple of times and you will notice that your body will feel more relaxed.
- Not all actor(s)/actress(es) will like this, but let them breathe out while going underwater. This will prevent you from seeing a lot of air bubbles in the water and makes the actor(s)/actress(es) even more relaxed while acting underwater.

Post-production
During the post-production, you come across the color grading and the special effects. It is wise to hire a VFX specialist since there might be some aspects of the footage you want to change/cover-up/fix. For example, we saw that, since we did not shoot with anamorphic lenses, there are some spots in the footage that need to be removed.
All in all, your underwater shoot will be great! Just remember to take the needed steps before the actual film day 🙂
Thank you for reading this blog! If you’ve created some underwater photo’s/films, please do not hesitate to share them with me – would love to see your awesome work!
And when you have some other tips, please send them to me. Together, we will learn how to make even better films!
Have lots of fun with your creative work! All the best from me, Lisa Alexandra de Bye